The RadPix teaching file system will run on Windows, MacOS, or Linux. While to program will run on minimal hardware, a modern PC is recommended, with at least 16 Gb memory and 500 GB disk.
Plan on having an automated backup system to prevent data loss!
- Windows
- Windows Server 2025 (preferred) or 2022
- Windows 11 Pro
- Install RadPix Installer .exe provided
- Linux / MacOS (Debian 13 preferred)
- Shell script and instructions will be provided
- Get IP number of the server
- Windows – Click Start Menu, enter “cmd.exe” (without quotes)
- Type “ipconfig”, press Enter (without quotes)
- Note IP number (IP4 if given option)
- Admin username: radpixadmin
- Admin Password: {Entered during installation}
- Linux
- Open command shell
- Login as superuser
- Type “ifconfig” press enter (no quotes)
- Admin username: admin
- Admin Password: password
- MacOS
- Open command shell
- Login as superuser
- Type “ifconfig” press enter (no quotes)
- Windows – Click Start Menu, enter “cmd.exe” (without quotes)
- Create a user, add a real name, and check boxes to give access. The “department” checkbox can be used to give all logged users access to cases. When cases are created, check the “department” option.
PACS Analyst Support
Request a DICOM Destination for your RadPix Teaching File System from your PACS analyst. This will allow you to send images from the PACS to RadPix. You will need to provide the following information:
- IP Number of your server (see above)
- Port – default is 1090
- AETitle – RadPix
- Title – RadPix Teaching File
You can also upload JPG and other image files directly to the system, but sending them directly from the PACS as you are reading cases is very efficient. You can have a PowerPoint file with images from your PACS in a few seconds!
If available, configure the DICOM sending device to use compression, which may dramatically decrease the size of multiframe DICOM files.
When the PACS configuration is completed, open up your PACS client and send some images to your new DICOM send destination, “RadPix Teaching File”.
Open up a browser to the home page of the server, which will be the IP number of your server. For instance, if your server is 192.168.1.80, open up a browser to http://192.168.1.80. You will then see the server home page.
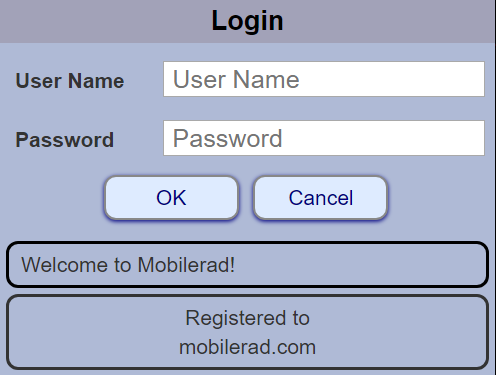
Login to the server (upper right corner)


and then click the Draft Cases to see the images in the new Draft case you just sent.
It is HIGHLY recommended to purchase and install an SSL certificate for your server. This will ensure the encryption of information between the client PC/device and the server. The server will otherwise send usernames and passwords in plain text. You may need some assistance setting this up. Various companies are offering SSL certificates including VeriSign.com and GoDaddy.com.