Cases can be created by sending images from a PACS to the RadPix Teaching File System. This is the most streamlined process, as images are selected as the case is read. Depending on the PACS system, individual images, series, or entire cases can be sent to RadPix. Some PACS allows the user to select images by holding down the Control key and clicking images to create a group of selected images. The selected group of images can then be sent to RadPix. This is often the most efficient way to create a case. Although RadPix can handle a large number of images per case, from an educational standpoint it may be more useful to select a subset of images showing the images of interest. If only entire studies or series can be sent, there is a sorting tool in RadPix that can be used to delete images as desired. A free DICOM sending tool is available from RSNA and is described here.
Configuring a PACS to send images to RadPix will probably need help from your PACS administrators. Link
Images are sent via a DICOM send from the PACS. The images are arranged into separate cases based on the patient identification in the DICOM images.
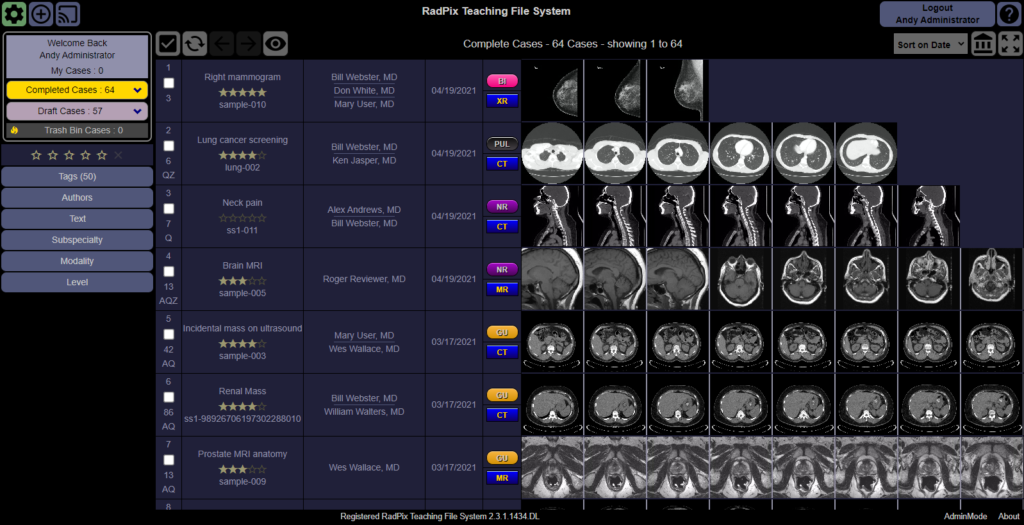
New Cases are in “Draft” status

Select case to edit
Completed or Draft cases can be edited if the user has permission.
Edit case
Click to Open a case, and if the user has edit permission, the Edit icon will be visible.


Edit Text for Case

Special text areas
- Questions
- Tags
Edit Images

- Image List – Add and delete images in case
- Download Image(s) – Download images as JPG, TIFF, PPT, MP4
- Invert – Invert Window / Level
- Pointer – Deselect active tool
- ZoomROI – Toggle to set zoom for image when displayed
- Window / Level – Change settings
- Crop – Crop image
- Blackout – Black out regions of image. Maybe used to cover patient information
- Circle – Draw circle/ellipse on image
- Paint – Click around edge of object to paint inside. Double click to complete.
- Arrow – Draw arrow
- Text – Add text
- Line – Draw line
- Measure Line – Measure distance on image (DICOM only)
- Measure ROI – Measure region of interest on image (DICOM only)
Set Case as Complete

Case will now appear in the Completed Cases section
